
Delete or Add Row Accounts: Income and Expense
Make your accounting spreadsheet fit your nonprofit by editing your Automatic Accounting workbook.

Okay...let’s do the easy revenue and expense account modification first
Deleting Revenue and Expense Accounts (GL-Jan)
Tip: It's easier to hide the accounts you do not need than to delete them...
(Note: Used the 1 fund accounting workbook for the following example...so row numbers may be different in multi-fund workbook)
Simply highlight all the "accounts" (rows) you do not need; right click; go down to hide; and click. For example, say you only need 2 income accounts for right now. Highlight rows 26-88…right click….move down to HIDE and left click. You’ll notice your row headings now read ...24, 25, 89, 90…. The extra income accounts are there hidden and can be “unhide” when you need another income account.
You will need to “hide” those extra income accounts on every worksheet in the workbook.
IMPORTANT-Hide the same accounts through the entire workbook.
For example: if you are hiding the last 4 expense accounts then make sure you hide the last 4 expense accounts throughout the entire workbook.

Coupon!
Here is a 10% discount code for all the ebooks, spreadsheets, and packages on this site:
FCA
Note: click on "PACKAGES" in the top navigation bar for a list of all of the ebook and spreadsheet packages on this site!
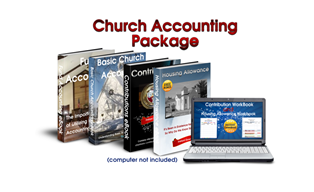
Church Accounting Package
A set of 2 ebook packages that covers the following topics...
- Fund accounting examples and explanations
- Difference between unrestricted and restricted funds
- Best methods for tracking restrictive funds
- Explanations and examples of financial statements for churches and nonprofits
- Minister compensation and taxes
- Payroll accounting and its complexities
- Much more - Click here for details


Deleting Expense Accounts
In the first worksheet(GL-Jan), select the rows to need to delete with the desired amount of line accounts. (Hint: Take the bottom line accounts if possible so you will not have to reset the balance column formulas again.)
For an example, we are going to take out the bottom 2 expense accounts.
- Highlight rows from bottom of the Expense #27 account to the bottom of Expense #28.
- On the Home tab, in the Cells group, click the drop down arrow next to Delete, and then click Delete Sheet Rows.
- Select the cell named Total Debits (at the bottom of worksheet), hit F2, delete all of the +#REF!, hit enter.
- Repeat for the cell named Total Credits (at the bottom of worksheet),
- Repeat steps for the rest of the fund account columns (if you have any more.)
Deleting Income Accounts
You will do as above (make sure you select bottom income account(s))except after step 4 you will need to reset your balance column:
- Select the top gray cell in the first expense account in the balance column.
- Hit F2, hit backspace till you come to the plus sign..then click on last cell in the account above it.
- Hit Enter.
Deleting Line Accounts in the Monthly and Annual Report
In the Jan monthly report, select all the rows with the
#REF!s, delete.
If it took out the last line under expense, you will need to put the border back in, go to the home tab if not already there, in the font group, click on the borders arrow and go down to double border...or whatever border you want), click where you want them.
Repeat steps for the annual report.
Not bad...huh?
Adding more line accounts isn't too difficult either...just takes some time.
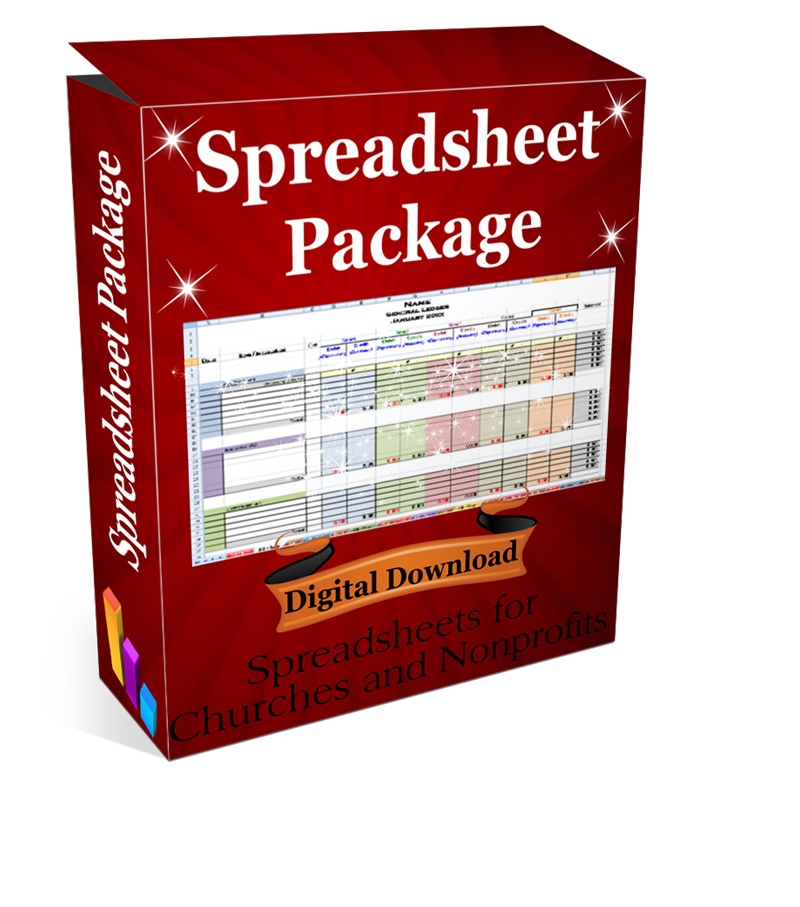
The Spreadsheet Package includes a workbook for tracking contributions, an automatic accounting workbook for tracking up to 5 funds,10 income accounts and 40 expense accounts and several more accounting workbooks. It also includes a Word document with 3 customizable contribution statements.
How to Add More Income and Expense Accounts
Let’s practice by adding another expense account (you can always delete it or use your back arrow to get rid of it later).
Important: Make sure you are in the GL-Jan worksheet!
- Highlight and select the row above the last expense account and all of expense account.
- On the home tab, in the cells group, click on insert arrow, and go to Insert Sheet Rows.
- Highlight and select all of that last expense, click copy, go back above and skip 2 rows and then select that first cell in column A and hit Enter.
- Rename and re-color new expense account.
Now to fix the balance column:
- Select the top gray cell in the new expense account in the balance column.
- Hit F2, hit backspace till you come to the plus sign..then click on last cell in the balance column of the account above it. Hit Enter.
- Do the same thing for the next expense account.
When you are finished adding accounts, you will need to add them to the Total debits (expenses) cell at the bottom:
- Hit F2
- Hit the plus sign
- Click on the red debit total...if you just added 1 account hit enter...if you added more...hit the plus sign and pick them all up before hitting Enter
- Do the same for the Total credit (income) cell.
- Repeat for remaining find accounts (if you have any)
Okay...now you know how to add more line accounts, and you are thinking...that wasn't too bad...hold that thought while we go to the monthly report and add that expense account we just added into the general ledger.
Adding Line Accounts to the Monthly Report
Look at the bottom tabs...click on the tab named “Jan”.
- Select row with last expense
- click “Insert Sheet Row”
- Select the cell in the E column in the new row
- hit equal sign (=)
- go to the previous worksheet (GL-Jan)
- click on the red debit total of the new expense account you just created
- hit enter.
- Repeat for remaining fund accounts (if any).
- Repeat all steps for remaining 11 months.
That’s it for the monthly report! You will need to repeat the steps listed above for each line account you add.
Quarterly and Annual Report Worksheet
- Select row with last expense, click “Insert Sheet Row”.
- Select Expense cell (the one directly above new row) in the E column, grab fill handle and pull down to last expense account.
- Repeat for remaining fund accounts (if any) and total column
That’s it! Don’t forget to save a copy of all your hard work and keep in a secure location
Quick Links: Home | Blog | Newsletter | Free Spreadsheets
Products: Church Accounting Book | Church Accounting Package | Spreadsheet Package
Support: FAQ | Church Accounting FAQ | Contact
Site/Company Info: About | Terms of Use | Site Map
By Vickey Boatright Richardson Copyright © 2008-2025 All rights reserved